Shucking a
WD easystore
and
upgrading NAS
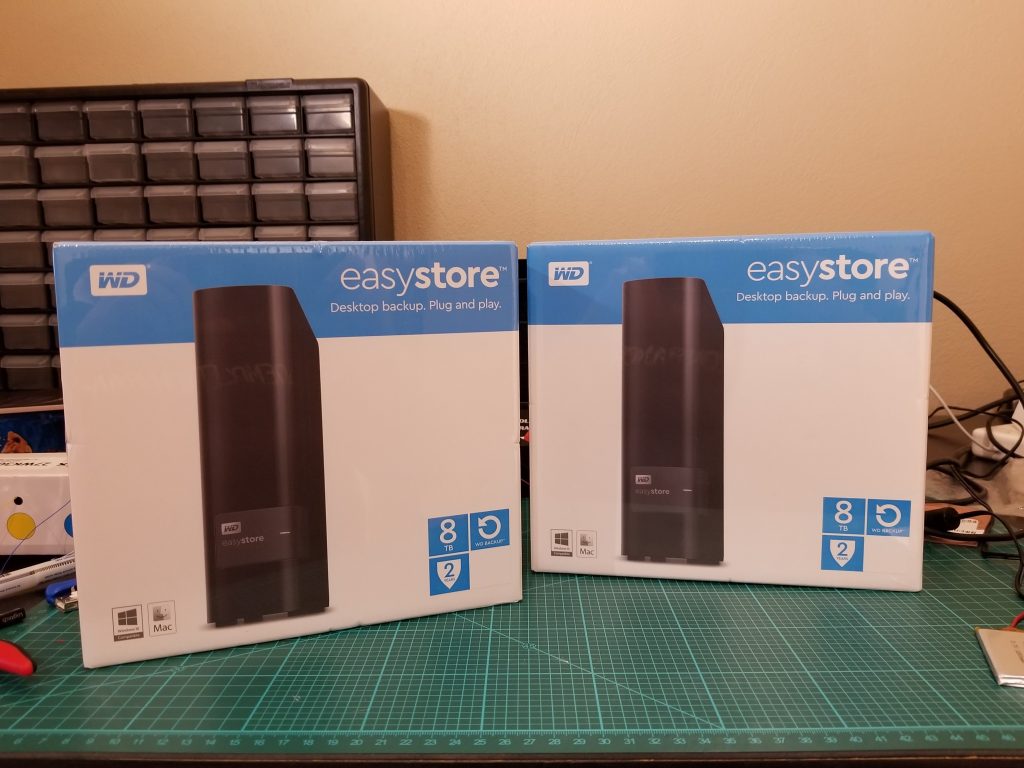
I just got two Western Digital 8TB easystore external drives in the mail today. Which can only mean one thing, it’s time to shuck. Shucking external drives to get at the red NAS drives within tends to be much cheaper than buying internal drives directly. External drives tend to go on sale more often which is what prompted me to pick up two WD 8TB easystore drives for $159.99 each (thank you, r/datahorder for the price alert). This guide will show you how to shuck them for use internally.
Step 1 – Preparing your drive
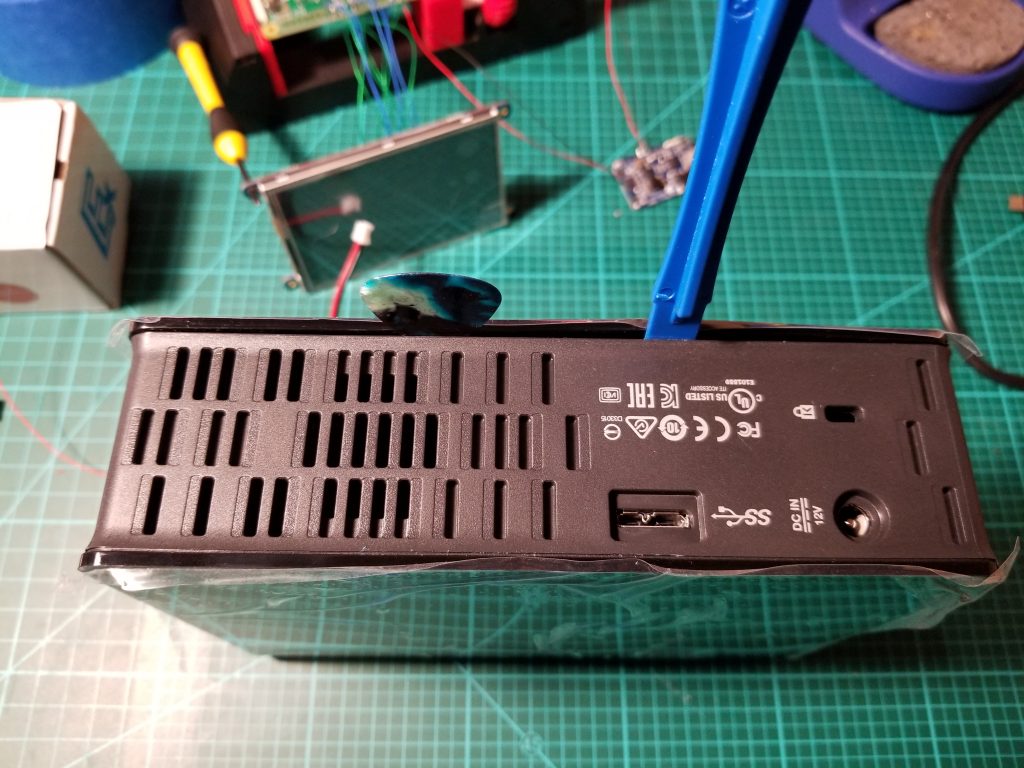
After unboxing your drive, you should place it frontside-down with the I/O facing up.

Step 2 – Opening the enclosure
Now the hard part, you will need to get some pieces of thin plastic or metal to use as a pry tool. I used a guitar pick and some iFixit tools for the job. You will need to slip the tool between the matte plastic on the I/O side and the glossy plastic on the sides. You will feel two tabs on each side. The objective is to get your tool between the two halves of the clip. To do this, place the between the two pieces of plastic over a tab, angle towards the matte plastic side and push down. If you did it right you should feel the tool move down about 1cm and stop. Repeat this process for the remaining three tabs. The tabs are pretty brittle so take your time.
Step 3 – Extracting the internal drive
You did it! The hard part is over, now you just need to pull the drive out from the enclosure. While leaving your tools in place between the tabs, lay the enclosure down so it is flat. Then pull on the matte plastic section while holding the glossy section still. If your tabs are released then it should start pulling apart. Once you get past the tabs you can remove the tools and finish pulling the internal drive out of the enclosure.

Step 4 – Removing the drive from the sled
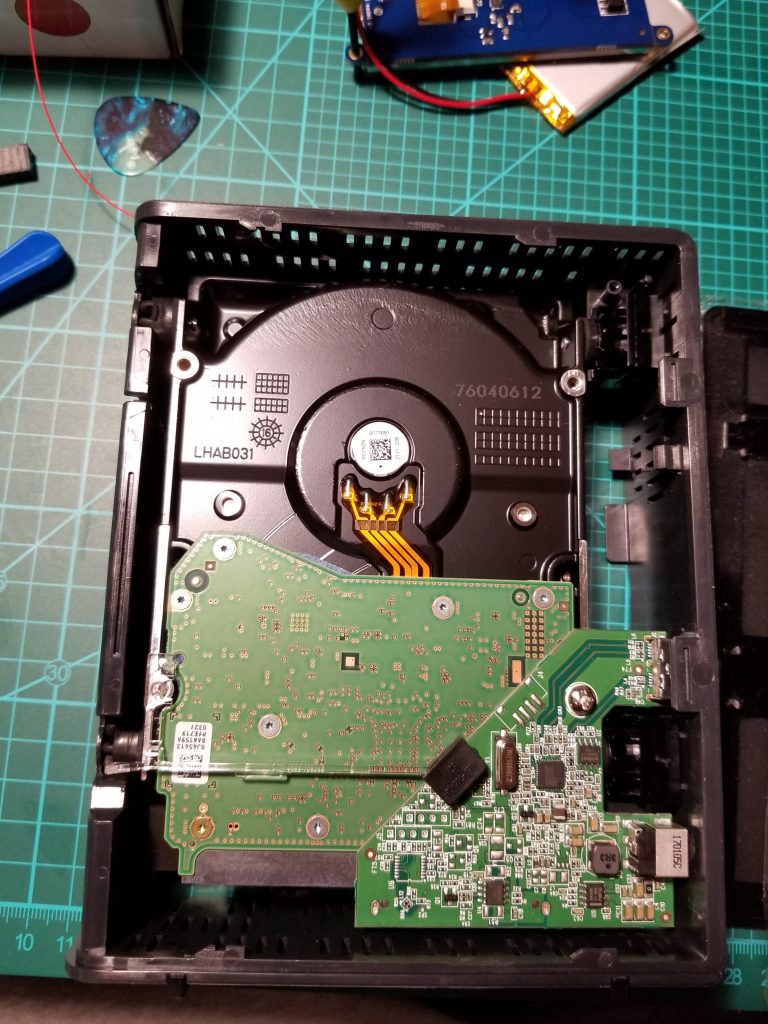
Now that the drive is visible you will need to remove it from the sled. To do this, gently pull up and away from the side of the drive without the attached board. Once the drive is removed from the frame you need to detach the piece of plastic that allows the activity light to be visible on the outside (someone please comment to let me know what it is called). Then you will need to remove the attached board from the drive. Use a Phillips screwdriver to detach the board, then slide it downwards to disconnect it.
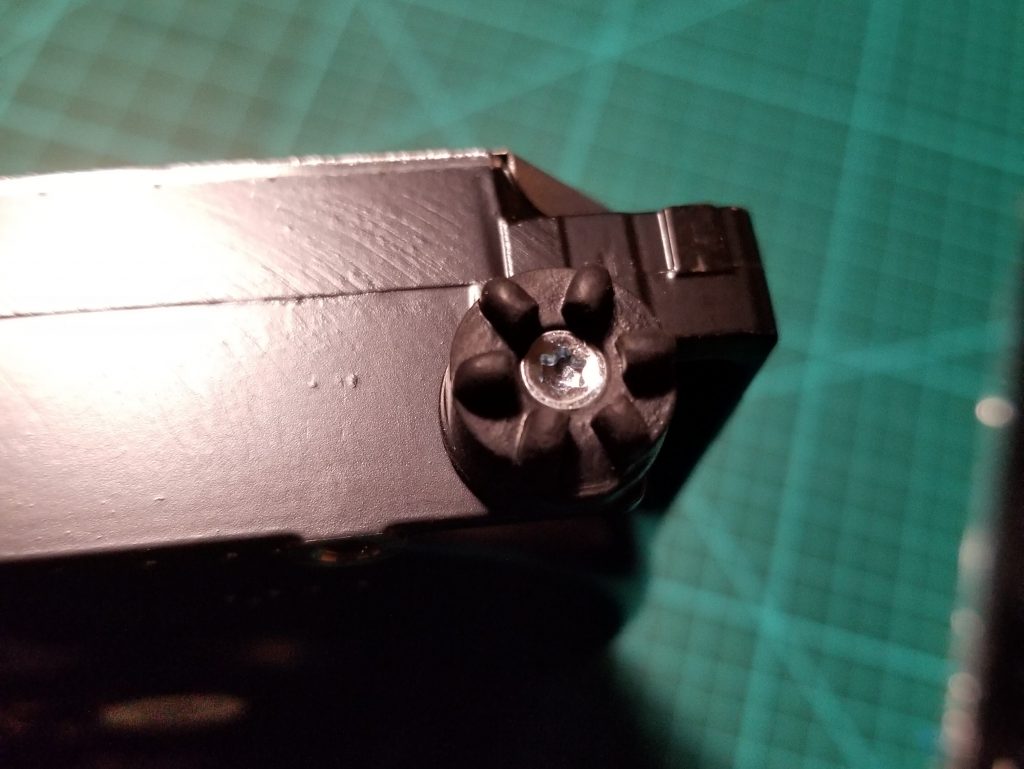
Step 5 – Remove the vibration grommets
Remove the four vibration grommets with a Torx 10 driver, they are not attached very tightly so you could probably get away with using a more common bit. After this is done the drive is ready for installation. Make sure to save all the bits and pieces and the box. If you have issues with your drive then you can install it back into the enclosure to RMA it.
Step 6 – Install in a device of your choice
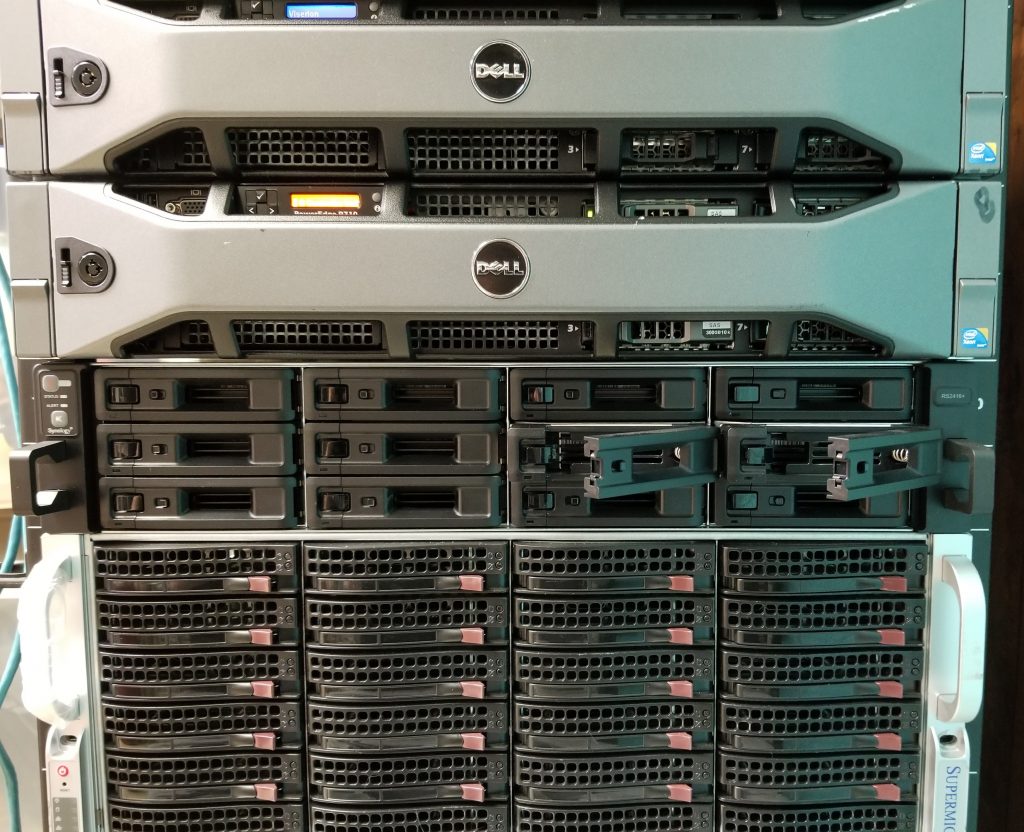
You now have a brand new 8TB WD red drive for use internally in the device of your choice. In my case, I installed them in my Synology rs2416+.